"The objective of life is not to be on the side of the majority, but to escape and find oneself in the lines of the madmen." - Marcus Aurelius
Showing posts with label coat/jacket. Show all posts

3/6/12

It might be too colorful even for me...

So I love this coat guys. The only thing that really irks me is that because the liner is sewn to the outer fabric, the coat can get stuck in odd shapes, most of which make my wide hips look even wider. If I could go back and do it over, I'd take some spray adhesive to that coat, for real. So here, have some crap shots from my bathroom mirror.


So most of those are ridiculously blurry. Oops? This is why I can't be my own photographer. It just doesn't work.

I've got 12 mismatched buttons, some of which are in shapes, unlike the coat from the movie. I'd advise using buttons that are all about the same size, so you're not like me and go from a gaping button hole for that giant yellow button to a tiny one for the flamingo right after it. It looks a little weird when the jacket's left open.

So yeah, that's my Penelope Coat :)

2/8/12

Penelope coat, part 2

Now for the pattern.
The most important thing to do before you even choose a pattern you want to use as a base is figure out how the article of clothing in question is put together, and what it looks like from all sides. This is my schematic that I taped up on my wall next to my sewing machine so it was easily accessible and look! Some references right there as well so I don't have to pull out my laptop every time I hit a stumbling block. Lots of things got added to this as I went along and realized that some things were just not going to work or could be done so much easier another way.

I also had to realize that this coat is from a movie. Some details just don't fly in the real world. Like, I cannot have my coat that close to the ground. It will get nasty walking around in an urban downtown environment, and the hobos I walk past on my way to school would probably take it as a personal challenge to step on it as much as possible or something. And I added pockets because, hello. I need pockets. Since the lining is sewn together with the outer layer all the way around the coat (meaning no gaps), having pockets between the two layers sometimes means the fabric bunches up oddly around my already large hips, but that's easily fixed by smoothing it down.

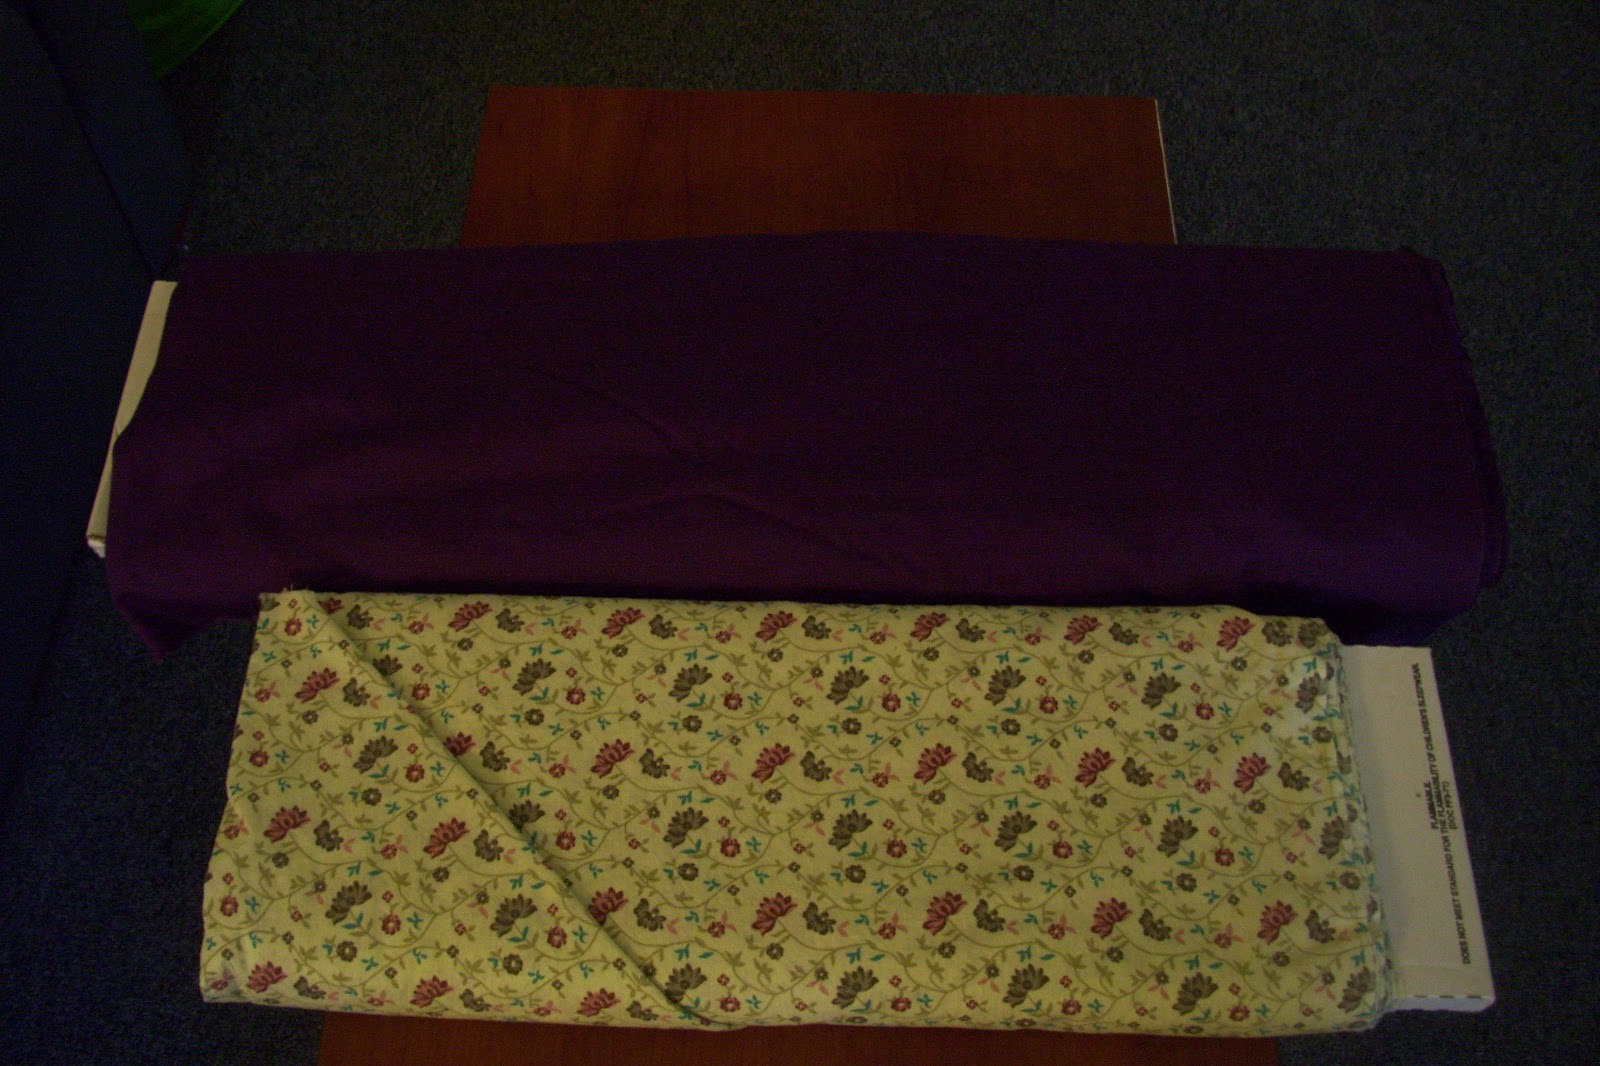
#2 and the bottom pattern piece on the right are for the coat; the top piece on the right is for a princess seam on a dress.
My base pattern is Butterick 5425, which is the same pattern I used for my Winterfresh coat. The seams along the front are almost princess seams, but not quite. So I used a pattern for princess seams on a dress to figure out how to modify the one for my coat. I was a little off, and as I noticed with my Winterfresh coat, I had to shorten the width of the shoulder seam by about an inch and a half (on the shoulder side, not the neck), but it all came together nicely.

Now, see how in these pictures, the coat is shorter in the front and longer in the back? All that means is I have to angle the hem. And that's a matter of simple math. If I know my pattern typically ends a little below my knees, then I add 3 inches (or however many you want) to the middle back seam, and angle it up through the various pieces to the side seam, which I will give the arbitrary value of zero. And from there, I angle the cut of the pattern even more, until I get to subtracting 3 inches from the very front panel where the coat overlaps. Make sense? It seems simple, doesn't it. That is, until you mess up by mistakenly angling one of your pattern panels the wrong direction. But since it's the bottom hem, all I had to do was fix the angle and try to make it even on both sides.

I initially cut out the sleeves exactly as their pattern suggested, but added length on the bottom to form the triangular bits (I think I measured it at 5 or 6 inches on each side, I don't remember), which would give you this:
But no. No, that is not what you do at all.

You see, shirt sleeve seams originate at the very middle underneath your armpit. That means, with your arms at your sides, the seam falls along the inside of your arm, facing your body. Those triangular pirate cuff things? Supposed to be down the back of your arm. Take a gander; see if I'm wrong.

She also has that trim going down the entire length of the sleeve, and I was like "...Oh hell no." So my orange trim is only around the triangular portion. That said, I had to redo my pattern for the sleeves. This took some creative thinking, since I'm not very spatially inclined, despite evidence to the contrary. What I came up with is this (in it's mock-up fabric):

For clarification, the dip there is the armpit area, and the hill is the part that covers the outside/topmost part of your shoulder. For you anatomy folks, that hill is the most lateral portion of your shoulder, as compared to, say, your sternum. That little hook looking thing at the edge of the dip portion of the pattern is something I added for stylistic effect. Feel free, in recreation, to cut it straight and say to hell with my fancy ways.

I'd planned on using bias tape to sew the lining and outer coat together at the hems, but this would leave the two layers without any other connecting points, which means room to move around and cause trouble for me by not matching up properly, bunching oddly, etc. To solve that, some of the "decorative" bias tape lines are sewn only to the purple fabric, and some are sewn through both the purple and the lining, to keep thing in place. So the decorative lines on the purple fabric-only came first, and those are the back princess seams, the not-actually seams-that-remind-me-of-Texas-and-cowboy-shirts at the top of the back, and the lines that form boxes around the pockets (and here you will notice that I deviated from the movie coat too, once I get the finished pictures up). Then came the decorative lines through both layers, and for that I had to make sure my seams for both layers lined up, which involves a lot of time, a hangar, patience, and being willing to look like a crazy person in front of your roommate's visiting family and/or pretending you're a ghost with a sheet over your head. Those seams are the princess seams at the front and the mid-back seam. I messed up on matching up the mid-back seam, but I will live with that mistake and own it.

Then I finished with all-around hem, of which I have already told you my woes, and mismatched buttons and button holes. For future reference: don not vary greatly in button size. Because then you have different size button holes, and it looks somewhat strange when your coat's just sitting there unbuttoned with one really big button hole next to one little one.

And finished pictures to come, once I actually get someone to take pics of me. For the record, I've been wearing this coat around campus for a couple weeks now, and I get tons of compliments. And it is awesome.

Penelope Coat, part 1

Let me start off with materials.

The purple is sportswear twill, which is a heavier fabric good for coats, but not the wool blend I wanted. You just can't find wool blends in attractive colors. I knew I should've bought it when I found it over a year ago! And then the lining is a plain cotton print. I picked it because 1) I like floral patterns, and 2) it had traces of all the colors that would be present in the coat, and I also happen to think the slight green to it really emphasizes the purple. Not that a purple and orange coat necessarily needs any extra emphasizing.

The pattern I used calls for a little over 6 yards of fabric, ostensibly of each because the lining is almost the exact same as the outer layer of the coat. This will be different depending on if you get 45" or 60" bolts of fabric and will vary if you tweak patterns like I do. I got the very last of this fabric at the store, and it  barely counted as 6 yards, so I said FUCK GRAIN LINES and just cut the pieces out however they best fit, so even though I fucked up the sleeves the first time around and had to cut them out again, I still ended up with somewhere between half a yard and a yard left of the purple fabric. So in a pinch, or if you don't know what grain lines are, you can make this coat in about 5 yards of fabric.

Upon further inspection of references, this gem popped up, you know, after I'd already bought my fabrics. But you know what? I don't really like the print they used for the lining in the movie coat. I'll take my granny floral prints any day.

The bias tape I used was carrot orange, because the regular orange looked fluorescent against the purple. I want to be able to work this coat, not blind and horrify people with it. But apparently, carrot orange is not a popular selling item. I grossly underestimated how much I would need and ended up buying some from Hancock Fabrics online, and then made my own when I was about a yard short at the very end. Let me explain.

For this coat, I needed both single fold bias tape and double fold extra wide bias tape. The double fold was for the hems - i.e., all around the bottom and edges of the collar and sleeves, and it's extra wide so that it matches the size of the single fold when I lay it out flat to sew onto the seam lines. And so the single fold was for this "decorative" trim on the seam lines - i.e., the princess seams, etc. By the very end of this coat, I was missing about a yard of double fold bias tape that would go at the very middle back of the coat along the bottom hem. So I took Quilting Tape (which is like SUPER double wide bias tape) and made my own and finished it. Like a boss. So, I think, altogether, you'd need about 3 or 4 packages of the single fold bias tape, and 3 or 4 of the double fold. Keep in mind there are 4 yards to each package of single fold, and only 3 yards to each package of double fold.

Next up: how to modify your pattern, fuck it up, and then get it right. Hopefully without too much of an incident.

1/15/12

Penelope Coat

So my next big project is this coat:

It's from the movie Penelope, featuring Christina Ricci and James Mcavoy.

I read somewhere that the ladies in charge of costume design were told to make a coat that looked like it belonged in a fairytale first of all, because that's what Penelope is, and secondly like someone took everything they thought would look cool and put it into one coat, with crazy colors and imperfect trim and somehow it all works. These ladies finished the coat literally right before they put it on Christina Ricci's body and sent her off to start filming, praying that it would fit.

I've already started, so of course after I've got all my materials, more close-up pics show up on the web. I'm making it mostly accurate to the movie coat, but there are some things that just have to change, either because I didn't have good reference shots to begin with, or out of necessity. My lining is different, but really, whatever. Second, it may be fine for someone to run around a movie set with a floor length coat, but that's actually dangerous and infuriating in real life. Especially if you're like me and live in a downtown urban environment where you really don't want to know what you just stepped in on the street. So my coat is shorter. Some of the orange trim to the seams are different, mostly because I didn't have good refs but also because I couldn't be bothered, and the buttons are going to be different but just as mismatched as the original.

So if you're still reading this, let's see how this goes, shall we?

1/30/11

So minty!

My finished Winterfresh coat, for those who wanted better pictures.
I wear it everywhere, guys. It's wool, and fully lined, and seriously saves me from so much cold. And looks fabulous while I'm at it.

11/27/10

Making the Winterfresh Coat

Okay, so I lied. I was going to do different pockets, aaaaand that didn't happen. Why mess with a good thing, right? But I did add the hood! But we'll get to that in a minute.

Firstly, my inspiration: a lolita coat I bought back when I was first getting into the fashion. It's adorable, but it has so many things going on, it's sometimes difficult to wear. Also, looking at some parts, I thought to myself, "Man. I could do better." Anyway, this is the only picture I have of it, from last March.

So I used Butterick 5425 for my jacket. I picked up this really dark green wool blend from the Hancock's near home (since there wasn't enough in the one near my college/dorms) and some itty bitty white lace to use as accents. Any other lace I used was lace I already had (and isn't that the weirdest sentence I've ever typed). Also, lining and interfacing. But I was a silly penguin and bought sew-in interfacing instead of fusible. This actually works out better in the long run, because if I had to get my coat dry-cleaned, the heat from cleaning every so often might mess it up. So! Since I'm silly, I had to go in and sew all of my interfacing in, which, you know, whatever.

And the lace! I usually pin it to the front side panels, and then sew those to the front panel(s).

close-up on the lace
So it comes out looking like this:
And then I decided to magic up a hood. I don't have a pattern for hoods, so I took a hoodie out of my closet and messed around, trying to get a good grasp on what shape to cut out. And then, because I'm silly and a dork, I added a point :3 And then lined it with fur.

The nice thing about fur? You don't have to hem it. Just go around the edges and kind of... tug, I guess, to make sure none of it will come off from where you cut it. Back to the jacket! I didn't have enough lining left over to make the pockets out of that, but I certainly had enough wool. And I figure that'll just keep my hands warmer, and I certainly don't have a problem with that. So you attach these bad boys at the side seams.
It's at this point that I realize this is a lot of fabric. And it is wool, which is heavy. I'm grateful I decided to make this at home, where we have a decent-sized kitchen table, and not my dorm, where it would inevitably need to be spread out on the floor.

And then, there is the lining.
Granted, my life would have been easier if I had decided to iron it or somehow get the wrinkles out, but my point still stands that lining is a terrible, evil fabric straight out of hell. Unless I am paid rather well and can run screaming and crying through the house without being judged, I do not want to work with this stuff again. Because, trust me, I cried over this lining. I wanted to bash my head in and call it quits and strangle small children and kick puppies. But I persevered! Also, change of fabric requires change in needles. I could use the heavier needle for this, but really? That's how needles get broked. I know this, so I don't push it anymore.

So, after some strange flipping around and attaching lining to coat, it was time to add the collar. I decided on a permanent hood, and that was my first problem. I managed to get the back part or the collar + hood attached to the neckline, but then the needle refused to go through the rest when I tried to put it all together, and cracked, and then broke. So I had to do that by hand, which hello, super-thick fabric what was I thinking dear God, but I am ever so thankful for large, curved needles :3
Then I attached the sleeves! And so, after the first full day of sewing, this is what I had:
Then, there was lining the sleeves and slipstitching, buttons and buttonholes and figuring out what French tacks were (and I still don't think I did it right, but whatever I did got the job done), hemming (and this is seriously the worst hemming job I've ever done since I started sewing), added some lace around the bottom, and then finally some around the cuffs.

And this is what you get :3


Sorry for the image-heavy, but! Totally worth it.